Sunday, September 25, 2011

persimmon raisin muffins

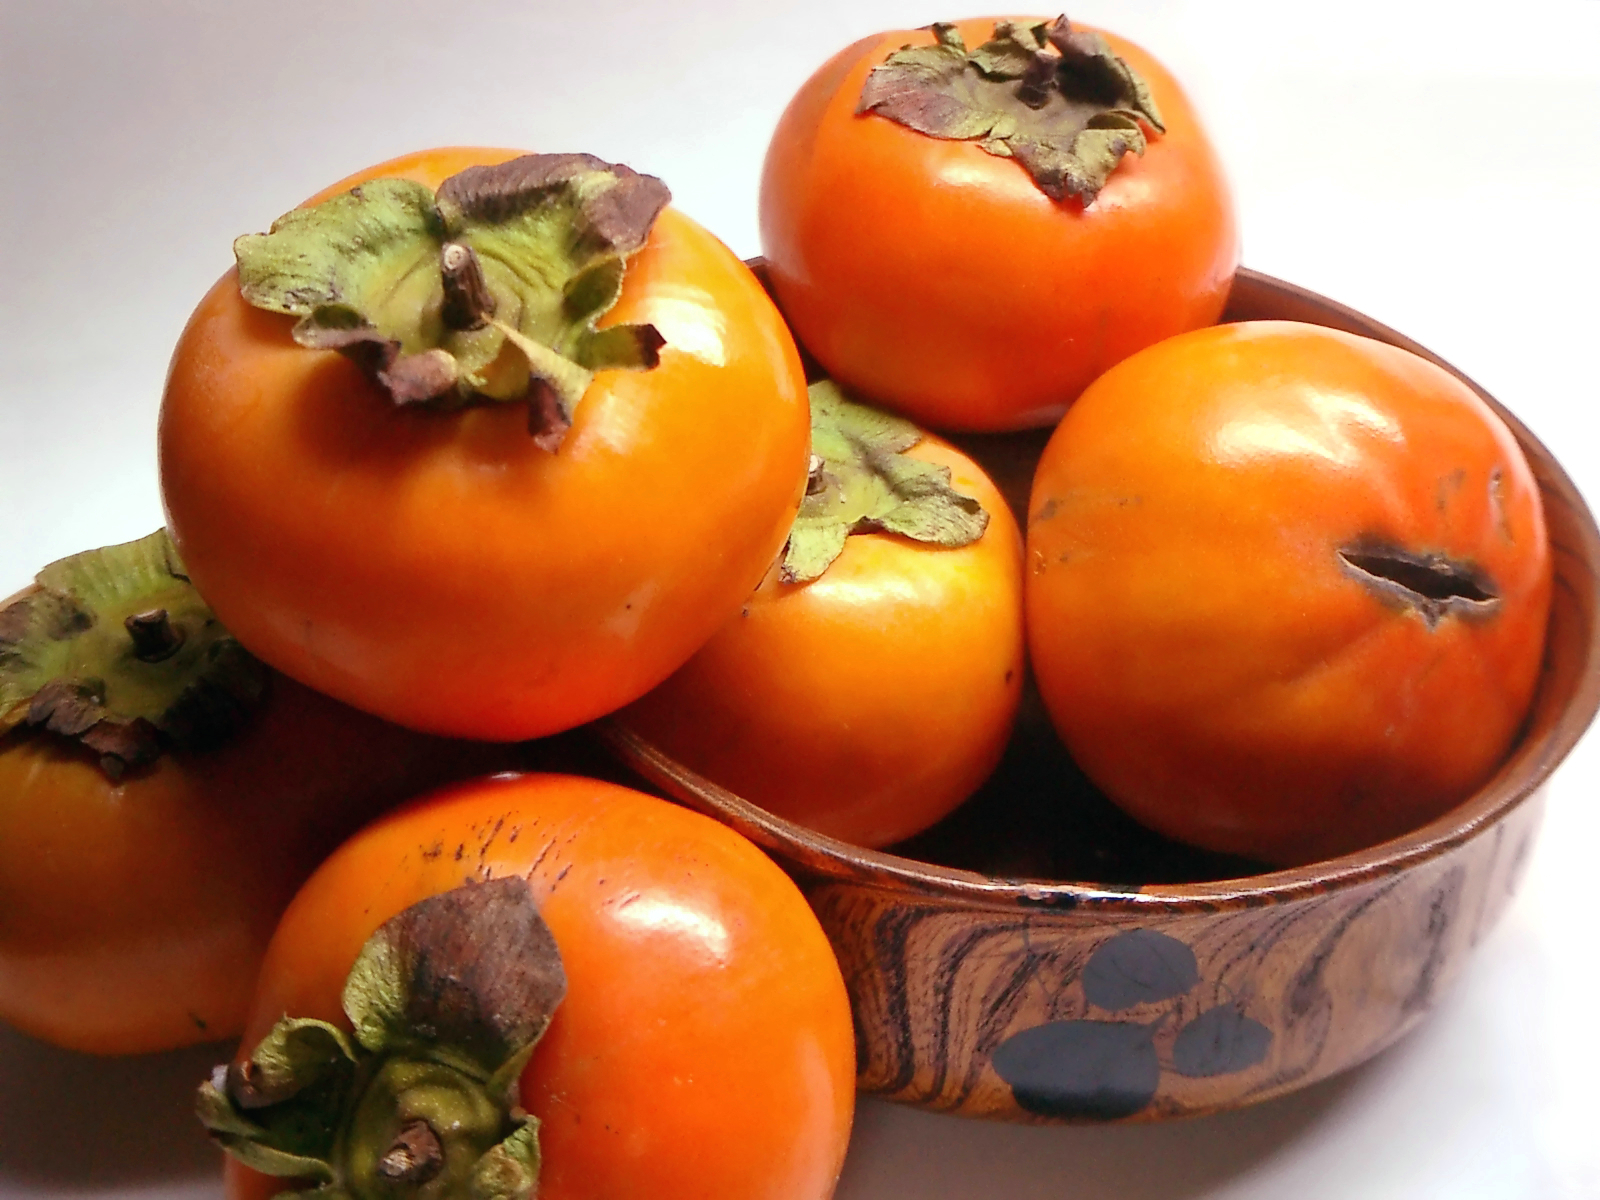
Persimmons | photo: Tomomarusan
It's persimmon season.  I love these tasty little fruits, with their rich fragrant scent and amazing flavor.  Luckily for me there is a pick your own place not too far away.  Each year I go and pick pounds and pounds of them.  I eat as many as I can before they get so ripe and so soft that they are in danger of sliding out of the fruit bowl and off the counter.  They have to be pretty soft before they are ripe enough to eat so this window is pretty small.

When I get to this point I turn the rest into pulp to store in the freezer.  This allows me to make cakes, cookies, and other persimmon delights for as long as the supply lasts. Apparently you can make jam from persimmons but I somehow never seem to get around to doing that.  I'm also not sure if I would use it as I'm currently the only one in the house who likes persimmons.

One of my favorite things to bake with persimmons are these muffins.  They're a great treat with a rich dark flavor that is so reminiscent of the crisp fall weather.  I'm sure they would freeze well but somehow they've never lasted long enough for me to test that theory.

Persimmon Raisin Muffins

3 cups white whole wheat flour
1 teaspoon cinnamon
1/2 teaspoon nutmeg
1 teaspoon baking soda
½ teaspoon baking powder
1 teaspoon sea salt
1 cup persimmon pulp
1 egg
1 cup sucanat
1 tablespoon vanilla
1 cup raisins
1 cup chopped pecans

Preheat oven to 375°F
Grease loaf pans
Sift together flour, cinnamon, nutmeg, baking soda, baking powder and salt
In a separate bowl beat egg, add persimmon pulp and sucanat
Add vanilla, raisins and pecans
Add sifted ingredients and mix well
Spoon into greased muffin tins
Bake 15 minutes or until tops spring back when tapped
Remove from oven and cool in tins 3-4 minutes before moving to wire rack
Finish cooling on wire rack

Monday, September 19, 2011

water kefir

This is a guest post from my friend Trudy Scott (CN).  She is a Certified Nutritionist and the founder of www.everywomanover29.com, a thriving nutrition practice with a focus on food, mood and women’s health. Trudy educates women about the amazing healing powers of food and nutrients and helps them find natural solutions for anxiety and other mood problems. Trudy’s goal for all her clients (and all women): "You can be your healthiest, look your best and feel on-top-of-the-world emotionally!"  She's also the author of The Antianxiety Food Solution.

It's a good idea to drink fermented beverages – they contain probiotics, or good bacteria, and are great for your digestion! Studies also show that probiotics help when you are depressed or anxious.

Kombucha is one example of a fermented beverage.  Another great one is water kefir.   The best part is that you can actually make these delicious beverages at home.

I have to say water kefir is my favorite when it comes to home-made because it’s so quick and simple.

Here's how to make water kefir:
  1. Dissolve 1/3 cup sugar with filtered warm water in a clean one quart glass jar. I like to use turbinado or rapadura sugars because they are not stripped of all their nutrients.
  2. Add water kefir grains (about 1 to 2 tablespoons)
  3. Add something to provide some flavor – I like ginger so I add 5-10 slices of freshly peeled ginger. Another option is a few mint leaves.
  4. Place jar out of direct sunlight.
  5. Cover jar with a clean dish towel.
  6. Let sit for 24 to 30 hours or to your taste. If you aren’t sure how it should taste, try some from someone else’s batch or buy a bottle of plain kombucha…it should taste similar to cider but less sweet. The length of time will differ depending on the room temperature; the fermentation process  will take less time when it’s warmer.
  7. Strain the water kefir grains from liquid and discard any flavorings (ie the ginger or mint leaves)
  8. Transfer the liquid to another one quart glass jar and save in the fridge to start drinking
  9. Rinse your grains and start over for an unlimited supply of delicious and nourishing water kefir loaded with probiotics or good bacteria!
A few other notes:
  • Don’t worry about the sugar as it’s mostly used up during the fermentation process
  • Your kefir grains will actually start to grow so you can share them with friends – getting from grains from a friend is a good way to get started
  • The grains sort of look like very baby cauliflower florets and should be kept cool when not being used
For those of you who would like to try making water kefir at home Cultures for Health is a great source for your grains.  They also sell a large number of other culture products for yogurt, sourdough, cheese and more.

Saturday, September 17, 2011

what is it?

The birds are very messy and tend to throw seeds everywhere when picking through the large feeder.  I assume they do this because they are looking for their favorite bits.  Having been lazy not weeded very well I found a few large plants growing under the feeder.  At first I thought it was corn which was pretty cool.  So we left them.

Obviously from these pictures, this is most definitely not corn.  I'm not really sure what it is.  It doesn't look like my pictures of either amaranth or millet so I'm stumped.

Unfortunately I don't have the label from the birdseed so I can't even pick it out from there.  Wondering if I should harvest it for the birds for winter or if it's edible by humans.  Anyone able to identify it?


Thursday, September 15, 2011

cherry jam

Cherries were very reasonably priced at the grocery store leading me to buy an extra five pounds to make cherry jam.  I like making my own jam because then I know exactly what's in it.  And I manage to avoid all of the nasty ingredients that I do not want in my pantry, HFCS, artificial flavors, artificial colors, etc.  that I complained about in a recent post on grape jelly.

Jam is very easy to make.  I've taught a lot of people how to make it and invariably the response is, "That's it?"  Yes.  That's really it.  It's not that hard, it just seems complicated because most of us don't can food anymore.  Honestly I don't even make that much these days.  Now that the kids are older and most of them out of the house we just don't go through jelly, jam, chutneys, and pickles the way we used to.  So I tend to save my efforts for the more expensive items.  Like cherries.

After washing and draining the cherries comes the task of pitting them.  Without fail every single time I make cherry jam I wonder why the heck I have never invested in a cherry pitter.

I need one because, first it takes a doggone long time to pit five pounds of cherries.  Second if you've ever tried to get cherry juice out of a white blouse you'll appreciate that my fingernails look none too clean for at least a day or two afterwards.

Another challenge is trying to pit the cherries without attracting the attention of other people in the house.  Invariably five pounds of cherries turns into a fair amount less after certain unnamed people start eating them faster than you can pit them.

To make the jam simply combine the cherries with lemon peel, lemon juice, sugar, and pectin and let it cook for a while on the stovetop until it thickens.  There are lots of great recipes for cherry jam out there.  The one I use comes from the Ball Blue Book which is a great resource for recipes and information on preserving all kinds of things.

My other favorite canning/preserving book are:

Once you've created jam you put it into sterilized jars, hot water bath it and then you're done.  One of my favorite sounds is the little plinking noises made by the lids sealing after their hot water bath.

The jars will keep for up to two years in the pantry.  Each time we take one out and eat it we are reminded of the sweet, juicy taste of summer.  Believe me, in the middle of winter the hot, steam-filled kitchen and huge pots a-boiling on the stove are a far distant memory.  It's all worth it.


Tuesday, September 13, 2011

yummy lunch wraps

Any time you see food beautifully prepared it means someone has had their fingers all over it.  Julia Child

Rice paper wraps can be a fun way to make a meal or snack.  You hydrate the wrap in a bit of water and then roll it around whatever you want for a filling.  Cool, tasty, and very satisfying.  If you keep these in your pantry you will always have the start of a delicious wrap.  I buy mine at the Asian store however many mainstream grocery stores are starting to carry them as well.

This is what hubby and I had for lunch:

Laying out all of the ingredients: (clockwise from the top):

organic baby spinach
dulse (a very yummy seaweed)
celery
organic, preservative free turkey
carrots
sweet bell peppers
rice paper wraps
sea salt and fresh ground pepper
(realized they didn't make it into the picture)

Assembling the wraps is a bit finicky.  You need to start by wetting the rice paper. I use a dinner plate with a little water in it to set the paper in, let it soak for ten seconds, flip it over and soak again, then use it.  It's very sticky at this point so you need to be careful in how you handle it.

Lay out all of your ingredients in the middle of the paper giving you enough at the "top" and "bottom" to be able to fold over before you roll the sides.  I also lay out the filling just a little to one side which make the end of the roll work out better.


Add some fresh fruit and it's a really satisfying and delicious lunch.

This was my plate (on a lunch size dish).  I decided to be honest and use this first roll so you could see they don't always turn out perfectly.  They still taste great. 

You can fill your rice paper wrap with anything you like, hard cooked eggs, other veggies, sprouts, dressings, avocado, whatever comes to mind as a tasty combination.  

Friday, September 9, 2011

affirmations

Most of us are very hard on ourselves.  No matter how hard we think the world around us is, we are tougher on ourselves than just about anyone else out there.  I work with a lot of people who feed themselves lots of negative messages about their relationship with food, their body or their self-image.  It doesn't have to be this way.

I recently saw the movie "The Help" and while I loved the move as a whole there was one scene that keeps repeating itself for me.  In this scene, Aibilene, the maid, is sitting in a rocking chair with Mae Mobley, her young charge, in her lap.  Aibilene says to Mae Mobley, "You is kind, you is smart, you is important" and Mae Mobley repeats it along with her.  This is such a wonderful affirmation.

We often forget to give ourselves, and our children, positive affirmations.  We give praise, hopefully often and mindfully, but we don't teach that skill of affirmation.  I believe it's never too late to start and want to encourage all of you to think about what affirmations you could incorporate into your life.  If you'd like to share them that would be even better, the we could all certainly use more positive messages.

In the meantime I've started a collection, you can see them on my Affirmation Pinboard.

We all deserve to believe in ourselves, to be kind to ourselves, and to teach our children to feel the same. Make it a habit, a healthy habit, to share positive affirmations with yourself and your loved ones on a daily basis.

Thursday, September 8, 2011

forbidden rice salad

forbidden rice salad
For tonight's dinner I've made an assortment of salads to serve with burgers for a refreshing, tasty, quick dinner.  I love salads because they're a great way to get variety into your diet and can go with almost anything.  Of course I don't mean the typical green tossed salad.  I'm talking salads with a little oomph and lot of tasty ingredients.

This picture on the left is the forbidden rice salad we'll be having, along with a fruit salad and a savoy slaw, with dinner tonight.  I love forbidden rice.

A black rice with a rich delicious flavor this is a whole grain and provides an antioxidant punch.  It provides a particular antioxidant called anthocyanin (which is also found in blueberries and blackberries) believed to help prevent inflammation, diabetes, and reduce or limit cancer-caused DNA damage.  Regardless of the health effects of the antioxidant properties there is no disputing the fact that this is a tasty way to add more whole grains to your diet.

Forbidden Rice Salad

1 cup black rice
1 3/4 cup water
1/2 teaspoon sea salt
1/3 cup pine nuts
1 large carrot
1 rib celery leaves included
1 red bell pepper
3 spring onions
1 cup edamame
1 tablespoon olive oil
2 tablespoons walnut oil
1 tablespoon water
1 teaspoon dijon mustard
sea salt and pepper

put rice, water and salt into a pot and bring to just under a boil on the stovetop
cover, reduce heat and cook until rice is done 20-25 minutes

while the rice is cooking toast pine nuts in a dry pan until just starting to turn brown
remove from heat and let sit

dice the vegetables except the edamame
note:  I use the large shred on my box shredded to get large slivers of carrot rather than a dice
combine the vegetables together in a bowl
note 2:  unfortunately I discovered I am out of edamame, the recipe really is better with them in there

in a separate container whisk together the oils, vinegar, water, mustard, salt and pepper
note:  I like to use walnut oil because it compliments the nutty taste of the rice and the flavor of the pine nuts

when the rice is done uncover it, remove from heat and let it sit 10-15 minutes to cool off and to stop steaming
combine all ingredients together, toss well and refrigerate for 2-4 hours before serving

Monday, September 5, 2011

food storage

Becky wrote and asked about storing food.  She's starting to make more of her own foods and would like to purchase in bulk but is not sure how to store things.  This is a brief post but one that shares my experience and what I do.  The storage that I am talking about here is dry storage, I'm assuming that if you have a freezer or even two freezers you are already using them to full capacity.

dry beans in jars | photo: dancesincreek
For smaller items (seeds, beans, herbs, etc) I collect glass jars.  Lots of them.  I confess that I have aspirations of being one of those wonderfully well organized people who has all their jars coordinated and they are the same so they all fit neatly on the shelf.  The truth is, well, let's just say a little more practical.  It's a mis-matched hodgepodge of jars.  I use smaller jars for smaller things and bigger jars for larger quantities.

If it is something that requires a good seal (such as agar agar) I will sometimes cut a piece of wax paper to put over the top of the jar before placing the lid on it.  Obviously things kept in jars do better stored in a cool dark place.

I like using glass jars, even though they are more breakable, because I feel that they are the best, least contaminating containers.

For large quantities I use five gallon buckets.  Although they are plastic, it is not possible to store very large quantities in other containers.  Many people can get five gallon buckets for free from their local grocery store.  In the bakery section simply ask for their buckets; the grocery stores throw them away.  These are food safe buckets.  Sometimes they come with some of the contents (frosting, etc) still stuck to the inside, but washing them out is a small price to pay.

For the lid I use something called a gamma seal.  This is a great thing to create a water-tight, air-tight, vermin-proof seal.  I like them in part because they are spin-on/spin-off rather than a rip-off-your-fingernails-prying-the-lid-open.  Essentially there is a threaded plastic ring which snaps onto the rim of the bucket.  The lid then threads into the ring.  If I am planning on very long term storage (more than six months) for the contents of a bucket I will add oxygen absorbers to help the contents last longer.  The trick with the oxygen absorbers is to figure out how much airspace is left in the bucket so you know how many absorbers to use.

I find that a five gallon bucket easily stores twenty-five pounds of dry goods.  I use mine to store grains such as hard wheat, barley, oats, and buckwheat.  I also use these buckets to store sucanat and evaporated cane juice crystals.  Due to the weight I don't stack them more than three high.

In order to make sure that I am staying on top of my large scale dry goods I write the contents of the bucket on a piece of scotch tape with weight and the date it needs to be used by.  This piece of tape is placed on the rim of the lid.  This way the buckets are clearly marked and when I go into them and I can see how much I still have left.  The tape sticks well enough to be used but comes off easily enough if the information needs to be changed.